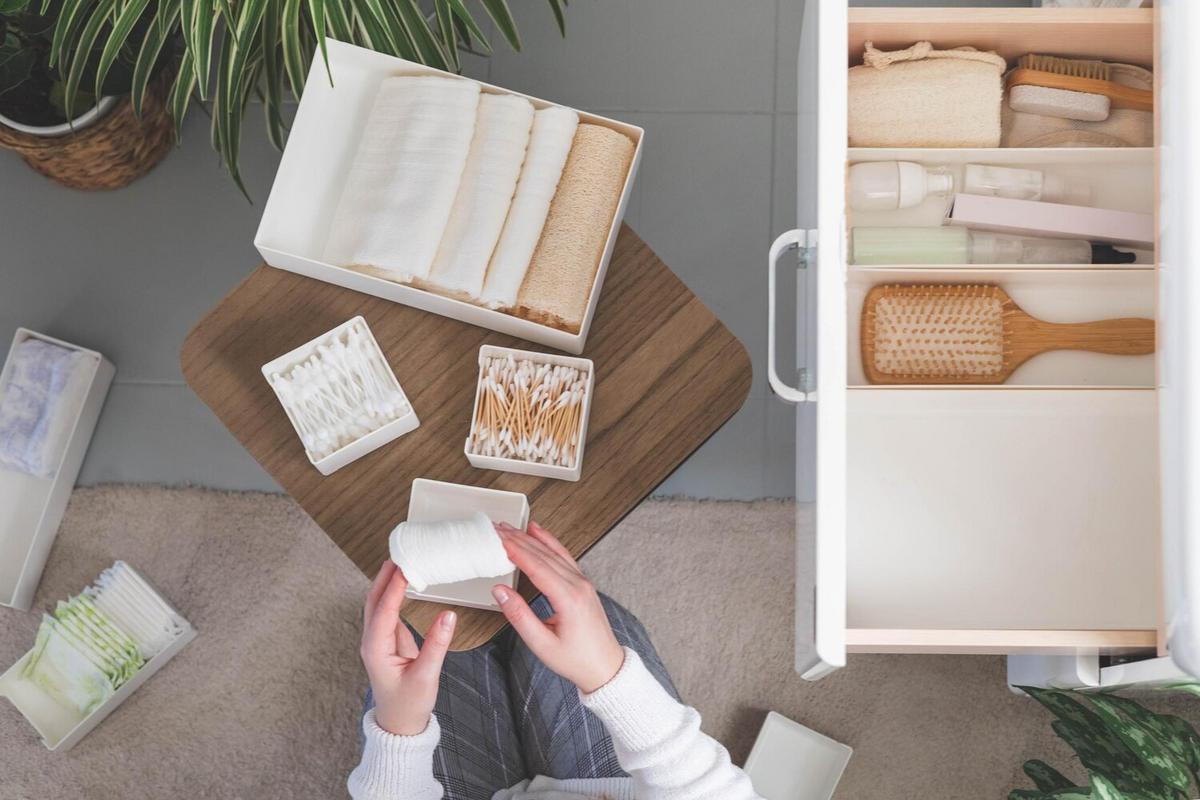
Ever feel like your drawers are a chaotic mess with items jumbled together in a disorganized heap? You’re not alone. Whether it’s your kitchen, bathroom, or office, creating “DIY Drawer Dividers with What You Already Have” can be a game-changer for maintaining order and maximizing space. And the best part? You likely have everything you need right at home.
Why DIY Drawer Dividers?
Drawer dividers are essential for keeping everything in its place and accessible. According to a study by the National Association of Professional Organizers, having an organized space can increase productivity and reduce stress. But why spend extra money on store-bought dividers when you can create them yourself? Making your own drawer dividers is not only cost-effective but also allows for customization to fit your specific needs.
What the Experts Say
“Organization is about efficiency, reducing stress, and optimizing your space. DIY solutions often provide the best customization to meet individual needs,”
notes a professional organizer from a well-regarded organization. This sentiment is echoed by many in the field, emphasizing the personal touch that DIY projects offer.
Materials You Already Have
Before you start, take a look around your home for these common items that can be repurposed into drawer dividers:
- Shoe boxes
- Cardboard
- Old Tupperware lids
- Wood scraps
- Plastic containers
- Foam board
- Magazine holders
- Binder clips
Step-by-Step Guide
1. Measure Your Drawer
Grab a tape measure and jot down the dimensions of your drawer. This will help you determine how many dividers you will need and their sizes.
2. Choose Your Material
Select from the list above. For instance, if you have old shoe boxes lying around, their sturdy cardboard can make perfect dividers.
3. Cut to Size
Using a ruler and a utility knife, cut your chosen material to the sizes required to fit snugly within your drawer.
4. Assemble the Dividers
Fit the pieces together inside the drawer to ensure they hold up well. You can use binder clips to secure them in place if needed.
Pro Tip: Use decorative contact paper to cover your dividers for an added touch of elegance and durability.
Comparison Table of Materials
| Material | Pros | Cons |
|---|---|---|
| Shoe Boxes | Sturdy, readily available | Limited size options |
| Cardboard | Customizable, lightweight | Less durable |
| Old Tupperware Lids | Durable, easy to clean | Not customizable |
| Wood Scraps | Very sturdy, customizable | Requires tools |
| Plastic Containers | Easy to clean, non-absorbent | Limited sizes |
| Foam Board | Lightweight, customizable | Can be flimsy |
| Magazine Holders | Sturdy, multipurpose | Bulky |
| Binder Clips | Easy to use, adjustable | Not suitable for heavy items |
FAQ
Do I need any special tools?
Most materials can be cut with a utility knife or scissors, so no special tools are necessary.
Can I use these dividers in any type of drawer?
Yes, DIY dividers can be customized to fit any drawer size and type.
How durable are homemade dividers?
Durability depends on the material you choose. Cardboard and foam board are less durable, while wood and plastic are more robust.
Conclusion
Creating DIY drawer dividers with what you already have is not only practical and cost-effective but also a fun project that can bring a sense of order to your space. By repurposing items like cardboard, old Tupperware lids, and shoe boxes, you can create customized solutions that fit your specific needs. Ready to get started? Take a look around your home, gather your materials, and start organizing!


Leave a Reply